Happy Pi Day Everyone!
Have you ever wondered how you can make this educational day fun for your little ones? Math teacher to the rescue!
Not to confuse pi with pie, but I have boiled down the key elements of pi so that they are relate-able to even the youngest children. As even my high school students say, “can we have pie for pi day?” Well, the answer is yes! What’s a better way to honor pi than with pie? So the first thing I want you to do is get a pie. Any pie will do, whether it’s baked or store bought, however for the purposes of our activity a flat pie will be better. I have enlisted the help of my little cousin, Mark, to help explain the process of the activity.
The first thing I’d like to do is give you some vocabulary to prepare you for what’s about to happen. Since pi is most commonly related to circles (just like a pie), we have to know some terms that go along with circles.
Circumference: The measurement of the distance around the circle.
Diameter: The measurement of a straight line through the center of the circle, connecting one side to the other at its furthest point.
Radius: The measurement of the straight line from the edge of the circle, to its center point.
Mathematically speaking, pi is an irrational number. Basically this means that it cannot be described as a ratio of two number. For example: 2.5 would be a rational number because 5/2 divides into 2.5. However, a number like pi, cannot be written as a ratio. Think back to middle school where we learned that an irrational number is a number that goes on forever and ever and ever and never ever repeats. This is what pi is. We think of pi as 3.14, but in reality it goes on to infinity and has no end. Am I losing you yet? Better get to that pie…
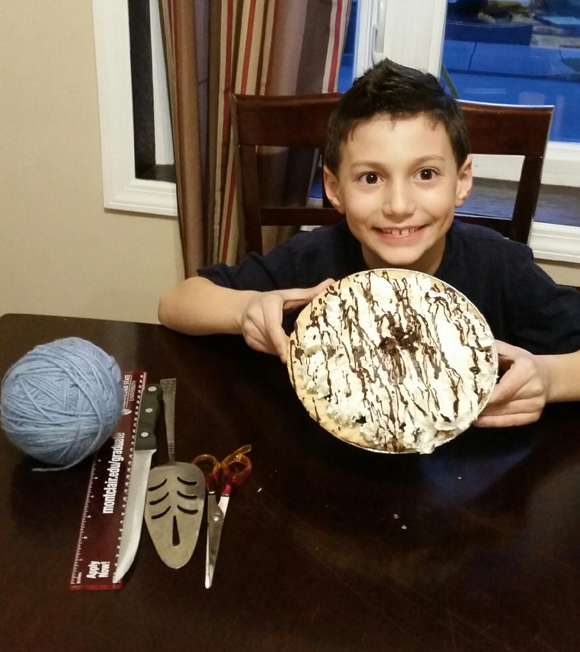
For our activity I plan on using the pie to literally learn about pi. This is fun! Just try not to eat the pie until the end, I promise it won’t be that long! Here’s what you will need in order to complete your activity with your youngsters: a pie (of course), some string or yarn, scissors, a knife (a pie knife works great), and a ruler/yardstick.
Ok now for some mathematical fun!
Circumference
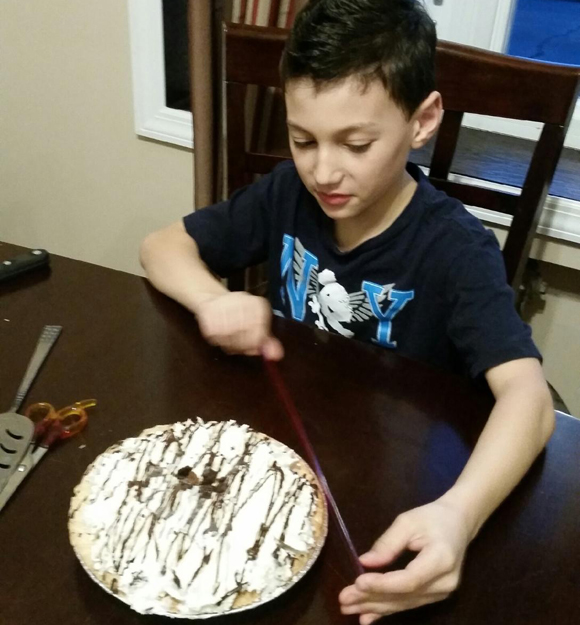
Start by explaining to your child that the circumference of a circle is the distance around the circle. Ask your child if he/she can figure out a way to measure the distance around the pie with the supplies you have provided. If your child picks up the ruler, ask them how you can use the rope instead. Help your child wrap the string around the outside of the pie. Make sure the ends meet and cut the string at the end. Lay the string flat and straight on the table and measure it with the yardstick. Write down this measurement on a piece of paper. Explain to your child that this is the circumference or perimeter of the pie.
Essential questions for deeper learning: Are there any other ways we could have measured the circumference? What other items around the house could we measure this way? Find an object that you think would have a smaller circumference than the pie. Measure with the cut string and test your theory.
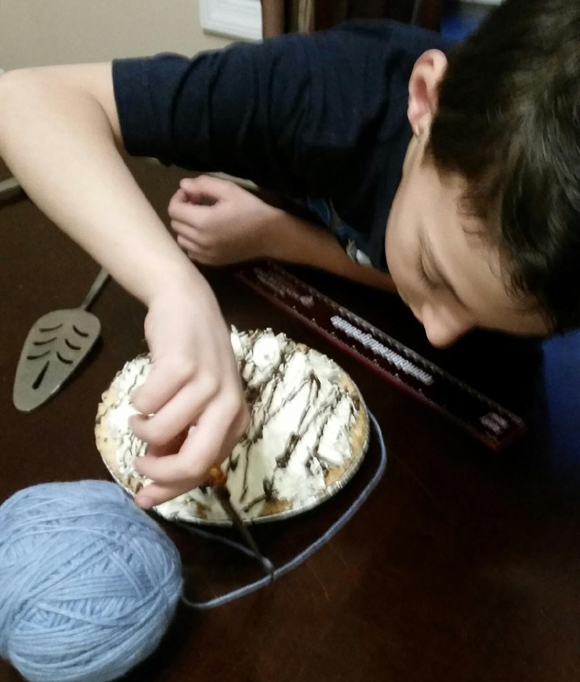
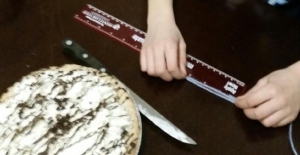
Now Mark is using the string to measure around the pie so that way he can lay it flat and measure with a ruler.
Diameter
Before measuring, ask your child if they think the diameter will be longer or shorter than the circumference. Explain to your child that the diameter is the distance from one side of the pie to the opposite side. Ask your child to take the string and put their finger on how long they think the diameter of the pie would be. Using the knife, lightly show your child where the diameter of the pie would be. Using the same string, measure the distance of the diameter. Tie a knot in the string where the diameter measures. Again, line up the string with the yardstick and measure the distance.
Compare the distance of the circumference to that of the diameter. You should see that the circumference is about three times bigger than the diameter. You can show this by folding the string into thirds. This relationship is known as pi! For our purposes we will keep pi as simple as that. Explain to your child that no matter what circle you use, the circumference will always be about three times bigger than the diameter. If you’re feeling really ambitious, try out this theory on another few circular objects.

Mark first makes a small indention in the pie so that way he can see where to lay the string across.
Radius
The radius is half of the diameter so using the same string, ask your child to take a guess at the length of the radius. Use the knife again to show the radial line on the pie to make it easier for your child to measure. Let your child measure the radius with the string and tie a knot to mark the spot. Put the string flat on the table and notice that the radius is exactly halfway between the diameter.
Now go eat some pie!
By now, you’ve probably had enough math for one day and that pie smells too good to wait another minute to eat. Enjoy your pie and I hope you had a fun and educational pi day!
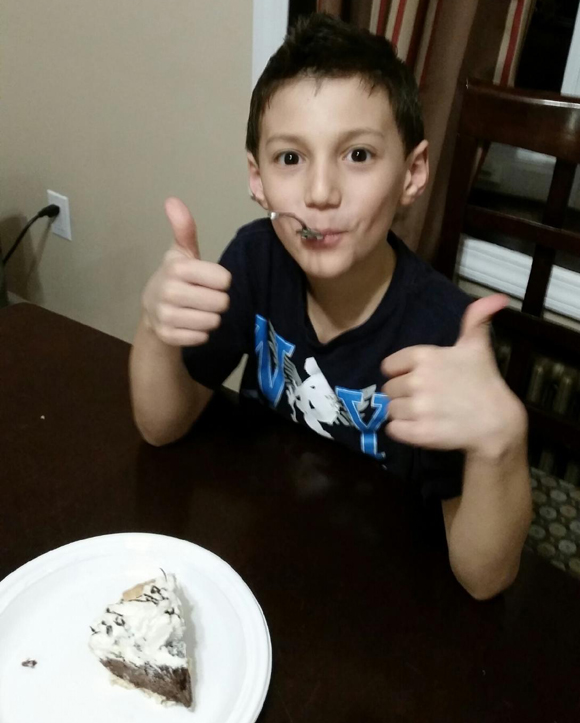
Special thanks to my cousin Mark for being my little Mathematician for this activity! He did a fantastic job and gave it the kid’s stamp of approval!
Love these! I’m going to use this in my homeschooling.. Thanks!!